How to Make a Clear Photo: Tips for Sharper Pictures
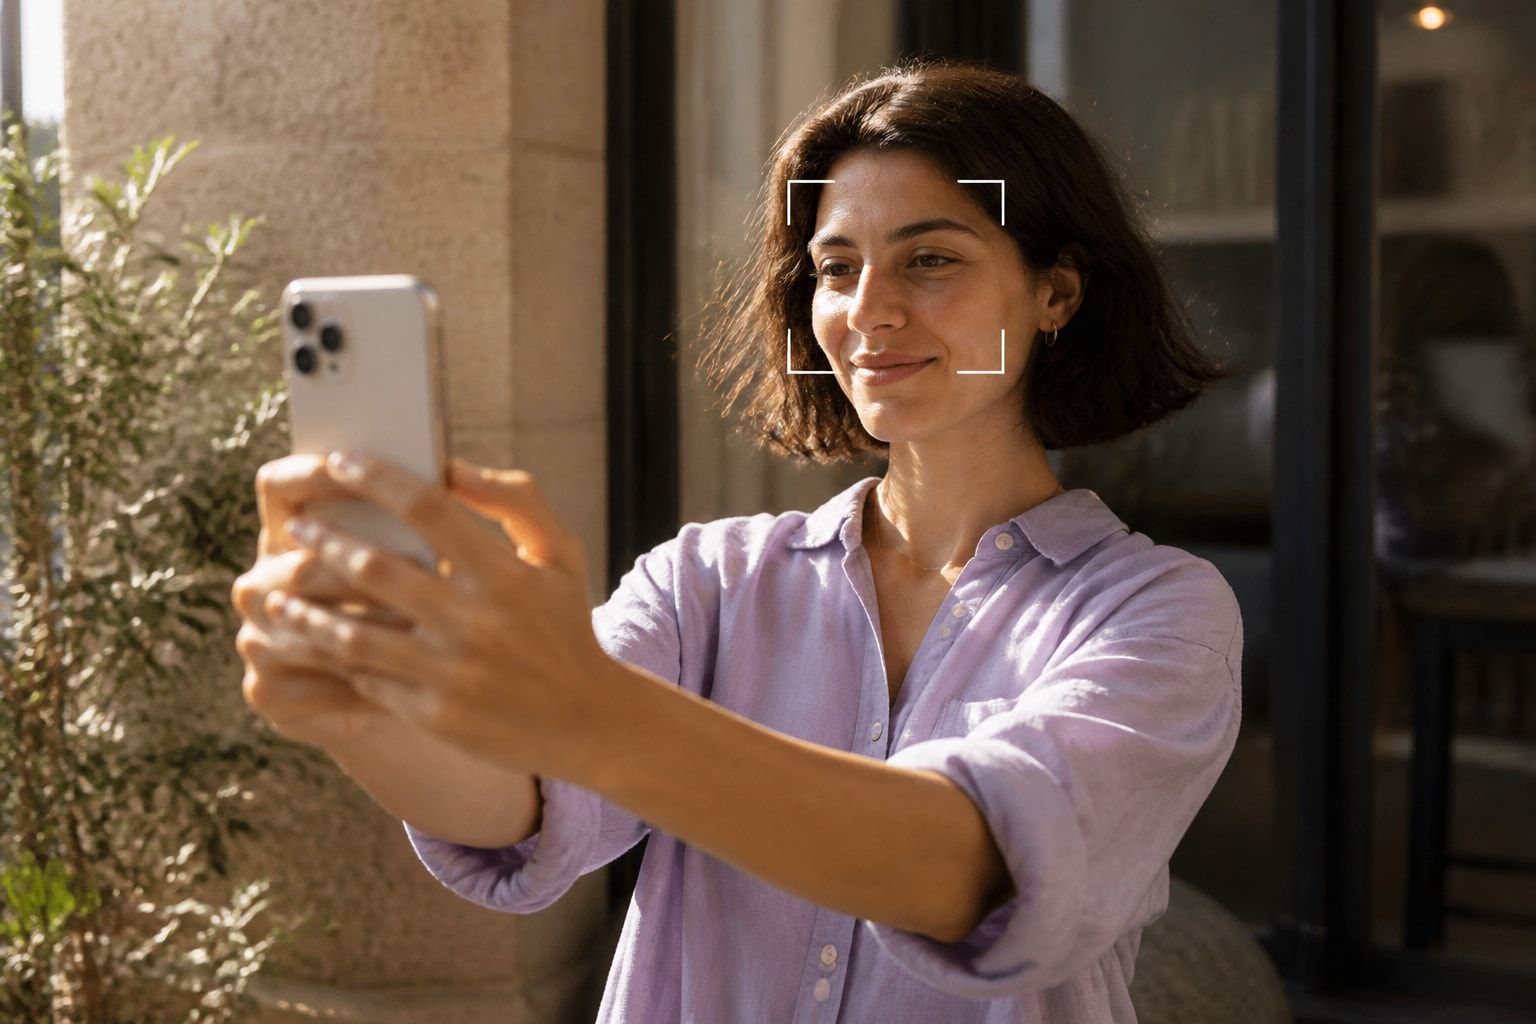
A clear photo comes down to four things: accurate focus, a shutter speed fast enough to freeze movement, enough light, and a steady camera. Get those right at the moment you press the button and you will rarely need to fix anything afterward. This guide covers why pictures turn out soft, how to prevent it with a phone or a camera, what editing can and cannot repair, and how to keep a sharp photo looking like you.
What Makes a Photo Clear or Blurry?
A photo looks clear when edges, textures, and fine details such as eyelashes and fabric weave are rendered distinctly. It looks blurry when something in the capture process smears or softens them.
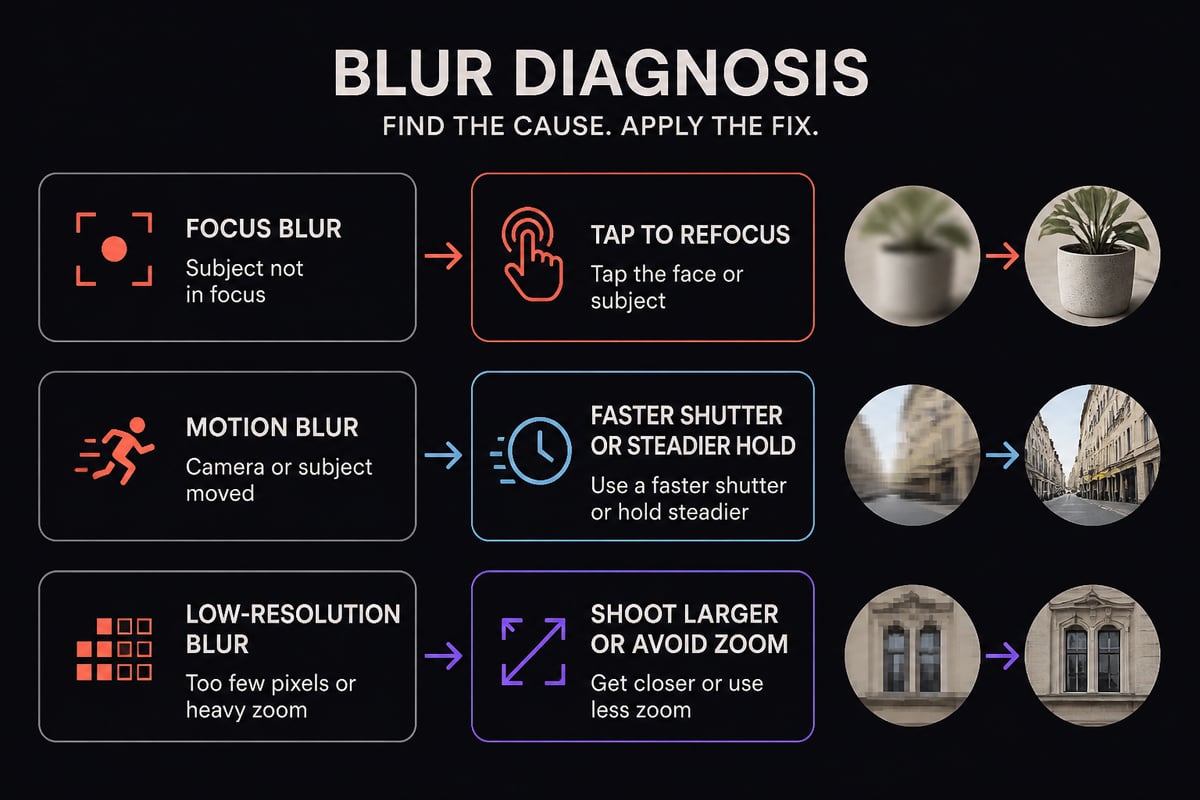
Three kinds of blur account for most disappointing pictures:
- Focus blur: the camera locked onto the wrong thing, often the background, so your face is soft while a wall behind you is crisp.
- Motion blur: either the subject moved during the exposure or the camera shook in your hands.
- Resolution loss: the image is simply too small, heavily compressed, or enlarged beyond what its pixels can support.
Noise is a fourth factor. In dim rooms, cameras raise sensitivity to compensate, and the resulting grain can look like softness even when focus was correct.
Identifying which problem you have matters because each has a different fix. Retaking a photo with better focus solves focus blur. No amount of sharpening rescues a face that moved during a slow exposure.
How Do You Get Sharp Focus on a Phone?
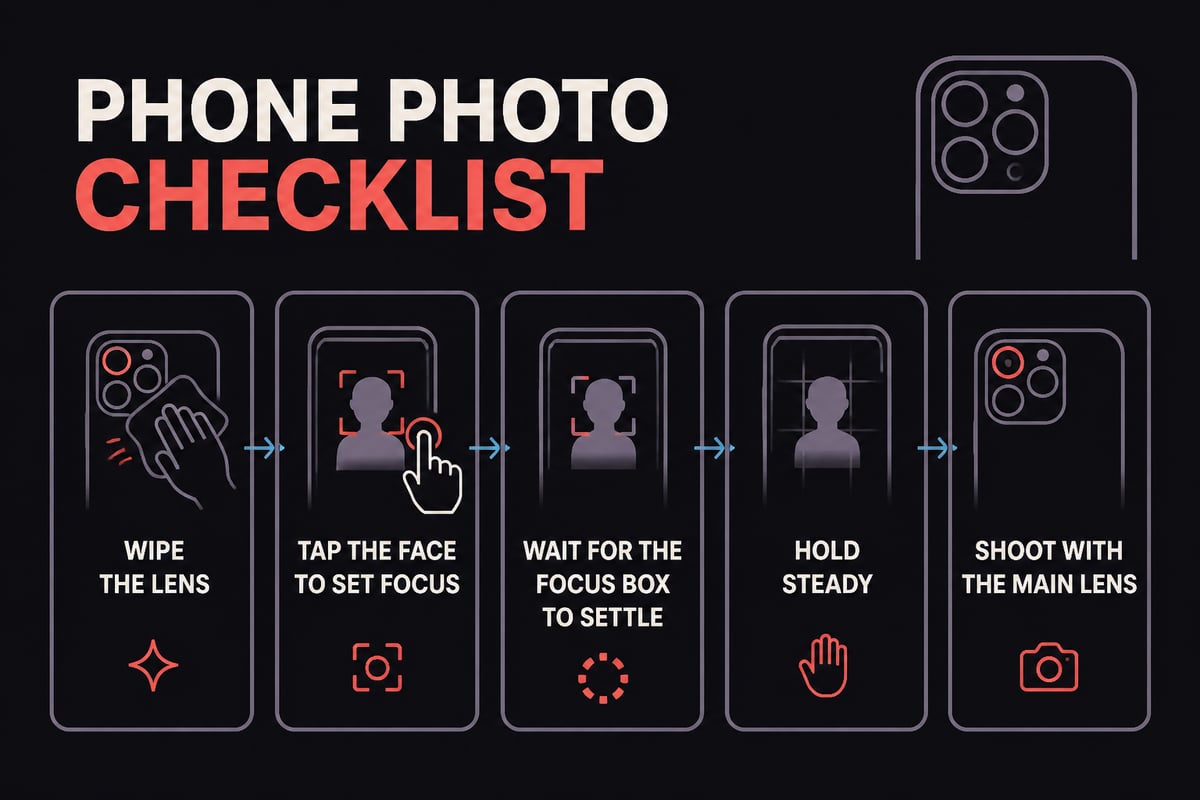
Tap the face you want sharp before you shoot. Consumer Reports advises tapping the intended subject on the phone screen to set focus, because automatic focus selection can leave the subject you care about out of focus.
That single habit prevents a large share of soft portraits. Beyond it, a few small routines make a clear photo far more likely:
- Wipe the lens. Pocket lint and fingerprints create a hazy film over the whole frame. A soft cloth takes two seconds.
- Tap, then wait. Let the focus box settle and the image sharpen on screen before pressing the shutter.
- Lock exposure if needed. Most phones let you hold your tap to lock focus and exposure together, which stops the camera from refocusing at the wrong moment.
- Use the main lens. The standard rear camera usually has the best sensor and the sharpest optics. Ultra-wide and digital zoom modes tend to lose detail.
- Avoid heavy digital zoom. Stepping closer yourself gives cleaner results than pinching the screen.
If you shoot with a dedicated camera, choose a single focus point and place it on the nearest eye, not the center of the frame. The 500px guide to ensuring sharp photos covers focus modes, focus-area selection, ISO, handheld shutter-speed rules, and tripod use if you want to go deeper on camera settings.
Which Shutter Speed Gives a Clear Photo of a Person?
For a still portrait, start at 1/200 second or faster. Nikon recommends 1/200 second or faster as a starting point for a stationary portrait subject shot handheld, which keeps minor hand tremor from showing up as softness.
Movement changes the math. If your subject is walking toward you, as in a candid street-style shot, you need more speed. Canon suggests 1/250 second to freeze a person walking, and notes that faster subjects, such as flying birds or speeding cars, may need 1/1000 to 1/4000 second. Sony offers a similar rule of thumb: shutter speeds of 1/250 second or faster help capture fast-moving subjects with minimal motion blur, while slower exposures call for a tripod and image stabilization.
A quick reference:
| Situation | Starting shutter speed |
|---|---|
| Stationary portrait, handheld | 1/200 second or faster |
| Person walking | 1/250 second |
| Fast action (birds, vehicles) | 1/1000 to 1/4000 second |
| Dim scene, camera on a tripod | Slower is possible if the subject is still |
Phones choose shutter speed automatically, so you control it indirectly. Shoot in brighter light, ask your subject to hold still for a beat, and avoid night mode for any shot with a moving person, since its longer exposures can smear anyone who shifts.
How Does Light Affect a Clear Photo?
Light is what lets a camera use a fast shutter speed without producing grain, so more of it almost always means a sharper result. In dim conditions the camera either slows the shutter, which invites blur, or raises sensitivity, which adds noise.
The easiest improvement is to move toward a window. Stand facing the glass, or at a slight angle to it, so soft daylight falls across your face. Outdoors, open shade on a bright day or the hour after sunrise and before sunset gives flattering, even illumination without squinting or hard shadows.
A few cautions:
- Avoid backlight. A bright window or sky behind you pushes the camera to expose for the background and leaves your face dark and low in detail.
- Skip the built-in flash at close range. It flattens features and creates glare, and it rarely produces a natural result.
- Watch mixed lighting. Warm lamps plus cool daylight create color casts that make skin look unlike itself.
Good light also protects accuracy. A photo that shows your real skin tone, real eye color, and real proportions is clearer in a broader sense than one that is merely high resolution.
How Can You Keep the Camera Steady?
Hold the camera so that your body acts as a brace. Tuck your elbows against your ribs, exhale slowly as you press the shutter, and avoid jabbing the screen button hard enough to jolt the frame.
Practical steady-shot habits:
- Use the volume button or a self-timer. A two-second timer lets the shake from pressing the button die down before the exposure.
- Lean on something. A wall, a table, or a railing turns your hands into a tripod.
- Prop the phone. A small tripod or a stack of books works for self-portraits, and it frees you to focus on your expression instead of arm position.
- Take a burst. Shooting several frames in a row lets you pick the sharpest one, since even steady hands produce small variations.
For selfies, a propped phone with a timer is more reliable than an outstretched arm. It also lets you place the camera at eye level, which avoids the distorted proportions that come from shooting up at your own chin.
Can Editing Make a Blurry Photo Clear?
Editing can sharpen mild softness, but it cannot recover detail that was never captured. Sharpening tools raise contrast along edges so they look crisper. AI-based enhancers go further and invent plausible detail to fill in what is missing.
That distinction deserves attention. Mild sharpening on a slightly soft but accurate image is a reasonable final step. Aggressive enhancement on a badly blurred face is different: the software guesses at pores, teeth, and eyes, and the guess may not match you. The result can look crisp yet subtly wrong, with skin that appears plastic or features that have shifted.
Keep these limits in mind:
- Sharpen lightly. Over-sharpening produces bright halos around edges and exaggerates skin texture.
- Reduce noise before sharpening, not after, or you amplify the grain.
- Crop sparingly. Every crop discards pixels, and enlarging a small crop brings back softness.
- Avoid face-smoothing filters. They trade clarity for an airbrushed look that may not match how you appear in person.
If a photo is truly blurry, reshooting beats rescuing. Five minutes with a window and a steady phone will outperform most repair tools.
Why Does a Clear Photo Matter for Dating and Work Profiles?
On a dating app or a professional network, a sharp, honest image is the first thing a stranger judges. People scan profiles in seconds, and a blurry or heavily filtered picture invites doubt about what you actually look like.
For dating, clarity serves trust. A clean image of your real face, in natural light, sets accurate expectations for the first meeting. It pairs best with variety, such as a clear headshot, a full-body shot, and a few lifestyle frames that show how you spend your time. CMeIn's guide to choosing dating profile photos that feel like you and its piece on better Tinder photos walk through how to build that mix.
For professionals, the standard is similar but more formal. A LinkedIn photo should show your face clearly, at a size that holds up in small thumbnails, with a plain background that keeps attention on you. Details such as eyes in focus and even lighting signal care without requiring any retouching.
A related note on presentation: whether you are publishing a profile picture or a team photo, sharp source images carry through to every use. For example, CCN Sport makes custom cycling apparel, and clear, high-resolution source images help design mockups and printed team graphics come out crisp.
What If You Cannot Get a Clear Photo Yourself?
If good light, a steady hand, and a willing friend are not available, AI-generated photos built from your own reference images offer another route. The key is choosing a tool that preserves your likeness instead of improving on it.
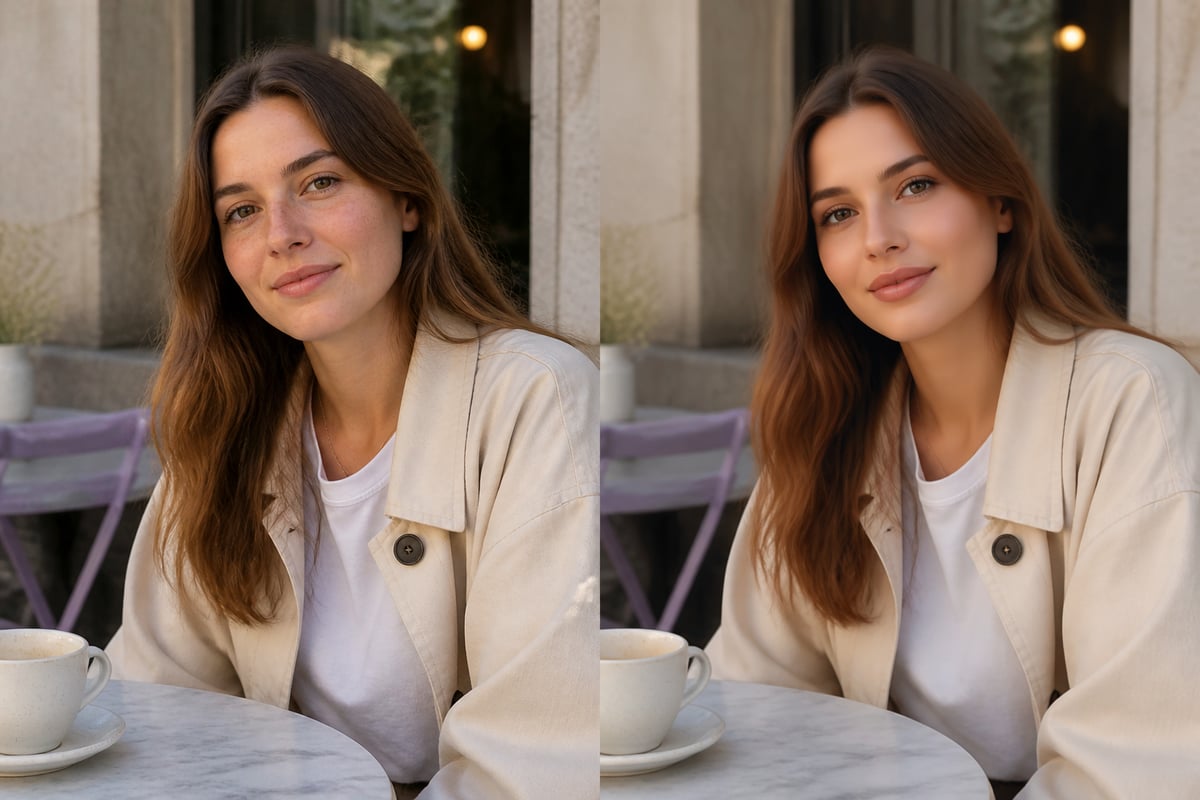
CMeIn generates realistic photos from your reference pictures and keeps your face as it is, with no smoothing, slimming, or beautifying. It favors real places and candid framing over studio backdrops, and your uploads stay private by default and are never used to train models. There is no subscription: you buy a credit pack and pay only for what you generate.
For a work profile specifically, the CMeIn headshot turns a single photo into a clean head-and-shoulders image of you, with the same face, same skin, and same clothes in front of a plain studio backdrop.
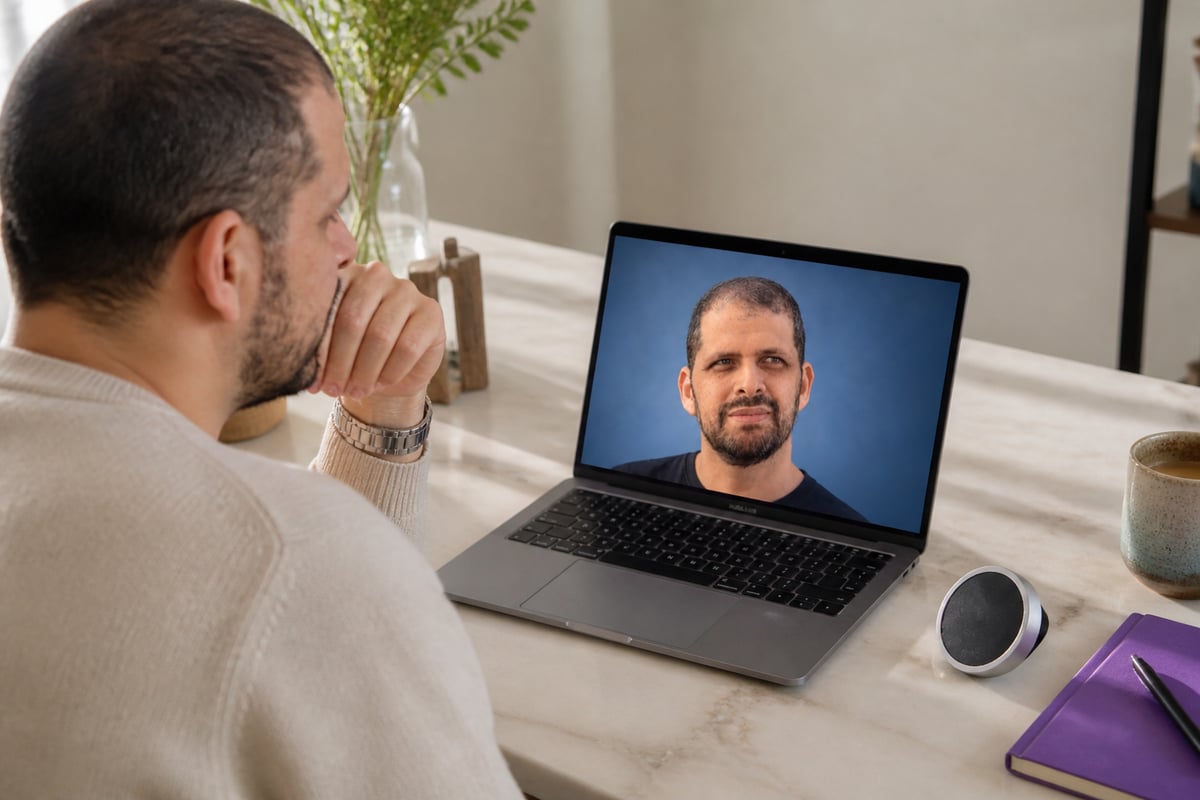
To check how convincing any AI portrait is before you rely on it, read CMeIn's explanation of AI photos that look authentic and its practical guide on how to make AI photos look real. If you are new to the category, professional headshots without a photographer explains what to expect from the process. For specifics on pricing, limits, and turnaround, refer to CMeIn's product pages or contact page.
A Short Routine for a Clear Photo Every Time
A repeatable routine keeps results consistent, so run through it before every important shot.
- Clean the lens.
- Find soft, even light, ideally facing a window or in open shade.
- Set the phone at eye level on a prop or tripod.
- Tap your face to set focus, and lock exposure if the option appears.
- Use a two-second timer or burst mode.
- Hold still for the exposure, and keep movement minimal.
- Review at full size, zooming into the eyes, and retake if they are soft.
- Apply light sharpening only if needed, and skip any filter that changes your features.
Checking the eyes at full zoom is the fastest quality test. If the eyes are crisp, the rest of the portrait usually holds up. If they are soft, reshoot instead of trying to repair the file.
Take ten minutes today to shoot a test portrait facing a window, tapping your face to set focus, and compare it with your current profile picture. If you would rather skip the setup, the CMeIn headshot can produce a clean, accurate image of you from a single photo, and the rest of the service builds natural scenes that still look like you. Start with your photos and see how a sharp, true-to-life image can represent you on any profile.