How to Make an AI Photo of Yourself That Looks Real
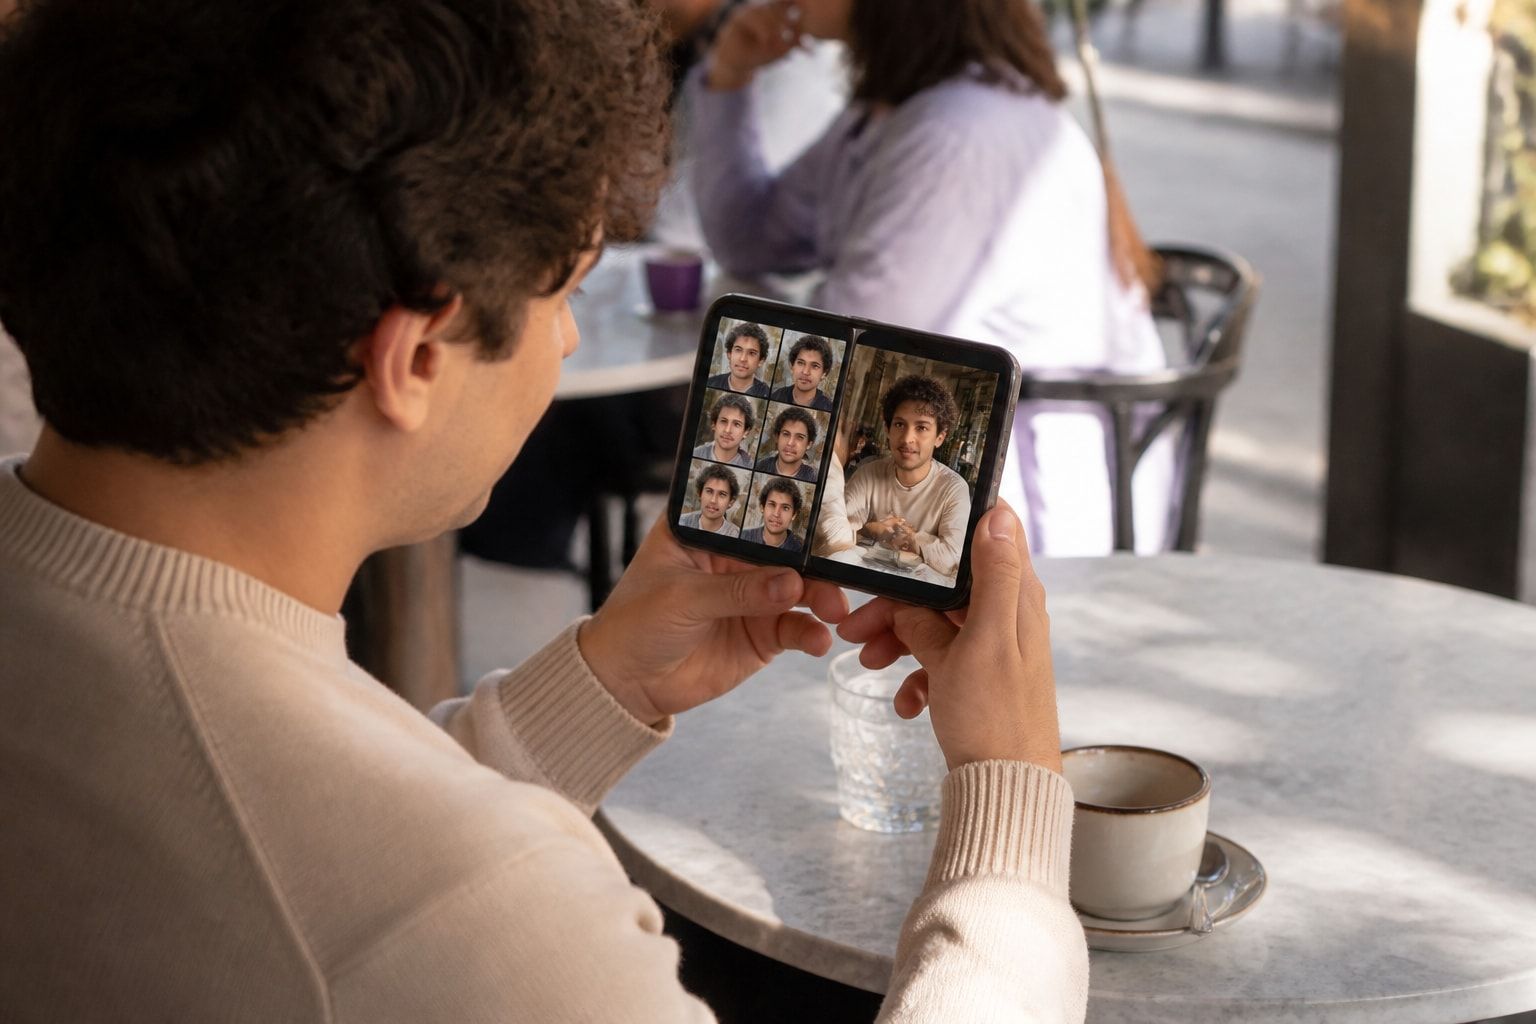
To make a AI photo of yourself that looks real, upload several clear reference photos of your actual face, describe a believable setting and lighting, and choose a tool that preserves your likeness instead of beautifying it. The result should be a photo a friend would recognize instantly, and one that still matches you when you show up in person.
That standard matters most for two groups: singles on dating apps who want photos that match how they look on a first date, and professionals who need a credible LinkedIn headshot or work image. This guide covers the process step by step, the prompt details that separate believable images from plastic ones, and the checks to run before you publish anything.
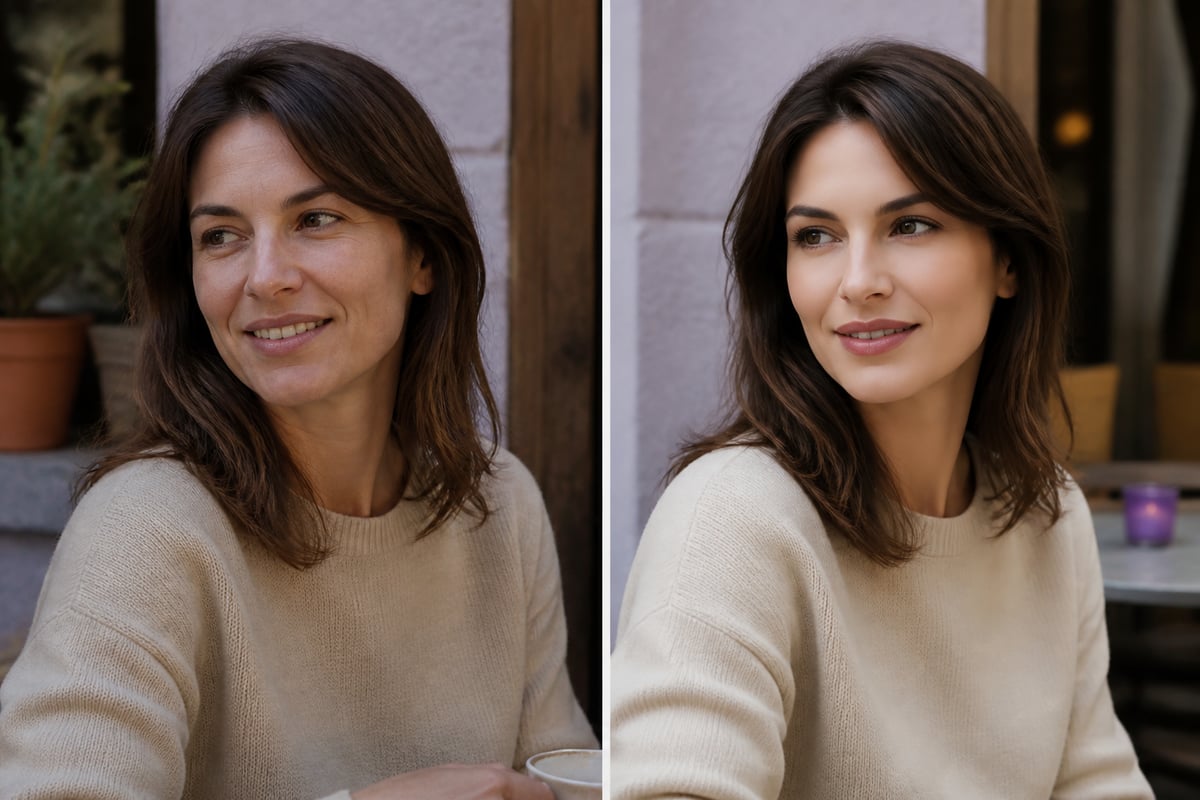
What Makes an AI Photo Look Real Instead of Fake
A realistic AI photo keeps your true facial structure, shows natural skin texture, and sits inside a setting with plausible light, framing and detail. Most fake-looking results fail on one of those three points.
The common giveaways are consistent:
- Over-smoothed skin with no visible texture or fine lines
- Studio-perfect lighting that does not match the claimed location
- A face that drifts from your real one, often with a slimmer jaw, larger eyes or younger-looking features
- Distorted hands, jewelry or background text
- Staged poses that no one would hold in a real moment
OpenAI's image-generation prompting guide recommends specifying framing, viewpoint, lighting and mood, and asking for natural skin texture and imperfections to get believable photorealism. That advice applies well beyond one tool. Realism comes from constraints and imperfections, not from a higher "quality" setting.
For dating and professional use there is a fourth test: does the image look like you? A photo can look photographic and still fail this test. If it makes you look five years younger or ten pounds lighter, it will create a gap the moment someone meets you. Our breakdown of why AI photos don't look like you covers the usual causes.
How to Make a AI Photo of Yourself, Step by Step
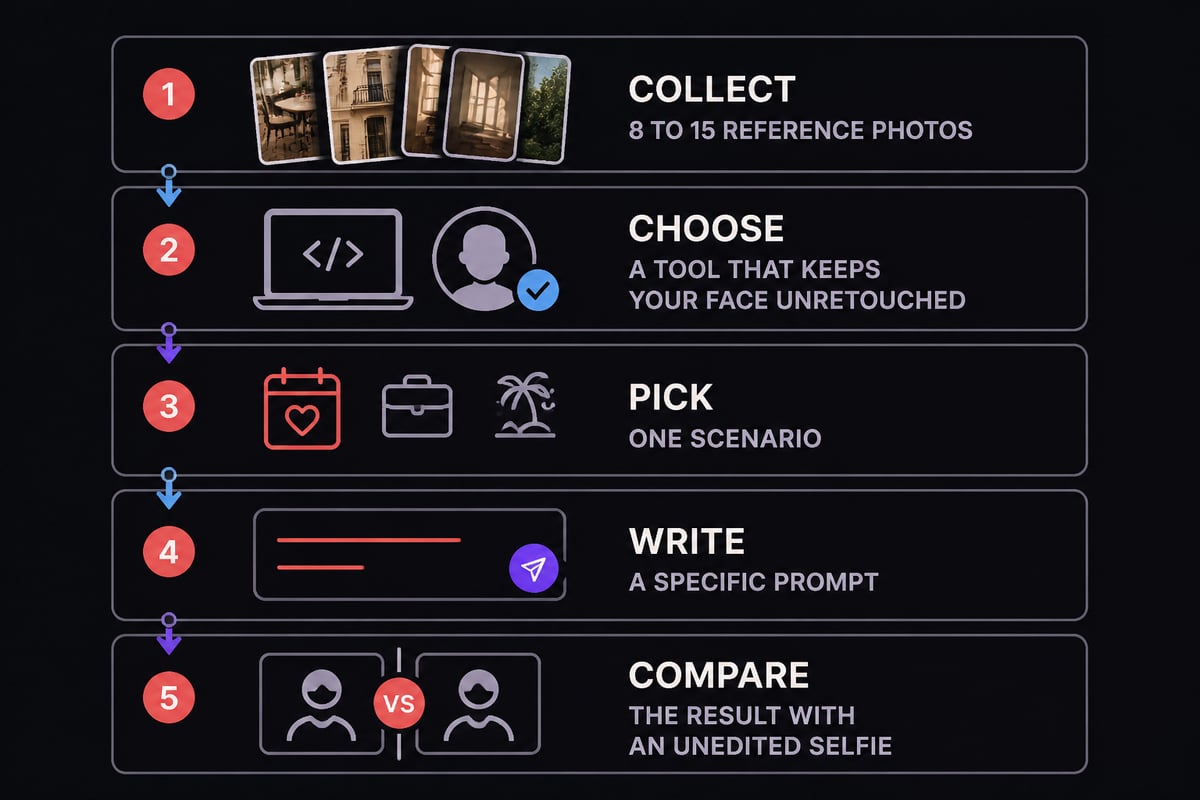
Follow these five steps in order, because each one depends on the quality of the one before it.
- Collect reference photos. Gather 8 to 15 recent images that show your face from several angles, in different lighting, with and without glasses if you wear them. Avoid heavy filters, sunglasses and group shots where your face is small.
- Choose a tool that keeps your face. Check whether the service smooths, slims or "enhances" by default. If you cannot preview results before paying, treat that as a warning sign.
- Pick one clear scenario. Decide whether the image is for a dating profile, a LinkedIn headshot, a travel shot or a social post. A single purpose produces a more coherent image than a vague request.
- Write a specific prompt. Name the setting, time of day, framing, clothing and mood. The next section explains how.
- Review against your real face. Compare the output with an unedited selfie. Keep only the images where you would not be surprised to see yourself.
Most people lose time on step one. Blurry, filtered or single-angle uploads force the model to guess, and guesses are where likeness drifts. If uploads get flagged or rejected, this explanation of rejected AI photo uploads shows what to fix.
Choosing Reference Photos That Protect Your Likeness
The best reference set shows your face honestly, from varied angles and in ordinary light. The model can only reproduce what it sees, so the upload determines the ceiling of the result.
Aim for this mix:
- Two or three close-ups with a neutral expression and a natural smile
- Two side or three-quarter angles, so the model understands your jawline and nose profile
- Different lighting, including daylight by a window and indoor evening light
- Your usual hair and facial hair, as you wear them now rather than two years ago
- At least one full-torso image, so body proportions stay accurate
Skip images with heavy beauty filters, extreme wide-angle distortion, hats that hide your hairline, or strong sunglasses. A filtered selfie teaches the model a face you do not actually have.
This is the single most useful habit for dating profiles. If your reference photos are accurate, the output stays accurate. If you want ideas for pairing accurate references with natural scenes, the guide to dating photos without a photoshoot walks through practical options.
Writing Prompts That Produce Believable Results
A believable prompt names the subject, setting, lighting, camera angle and mood, then leaves room for imperfection. Vague prompts such as "professional photo of me" produce generic gloss.
Canva's realistic image guidance recommends specifying the subject, setting, lighting, camera angle and mood, and gives the example "a freckled woman laughing in golden-hour light, 85mm portrait." The pattern holds for self-portraits as well.
Compare these two approaches:
| Weak prompt | Stronger prompt |
|---|---|
| Professional headshot of me | Head-and-shoulders photo at a window desk, soft overcast daylight, navy blazer, relaxed half-smile, natural skin texture |
| Me at a cafe | Candid photo laughing at a corner table in a neighborhood cafe, late-afternoon light, shot at eye level, slightly off-center framing |
| Me on vacation | Walking along a harbor at sunset, three-quarter view, light linen shirt, wind in hair, real street details in the background |
Three habits improve almost any prompt:
- Ask for real light. Overcast daylight, golden hour and window light read as honest. Studio rim lighting reads as manufactured.
- Choose candid framing. Slightly off-center composition and mid-action expressions look like something a friend captured.
- Name imperfections. Phrases like "natural skin texture" and "visible fine lines" push against the smoothing that many models apply by default.
For more variations to try, see the walkthrough on writing prompts for AI photos.
Matching the Photo to Its Purpose
The same face needs different settings depending on where the photo will be used. Dating apps reward warmth and context; LinkedIn rewards clarity and credibility.
For dating apps
Dating photos work best when they show you in a believable moment: a walk, a market, a dinner table, a trailhead. Viewers are looking for evidence of personality and for confirmation that you look like your description. Include one clear, smiling close-up, one full-length shot and one activity photo. Our notes on choosing dating profile photos that feel like you and lifestyle photos for dating profiles show how to balance the set.
For LinkedIn and work
A professional image needs a clean background, even lighting, appropriate attire and a calm, direct expression. Skip dramatic filters and avoid the glossy "corporate stock" look, which can read as impersonal. The guide to AI LinkedIn photos that still look like you goes deeper on what recruiters and colleagues notice.
A useful rule for both: if someone who has only seen your photo would recognize you across a room, the image has done its job.
Quality Checks Before You Post
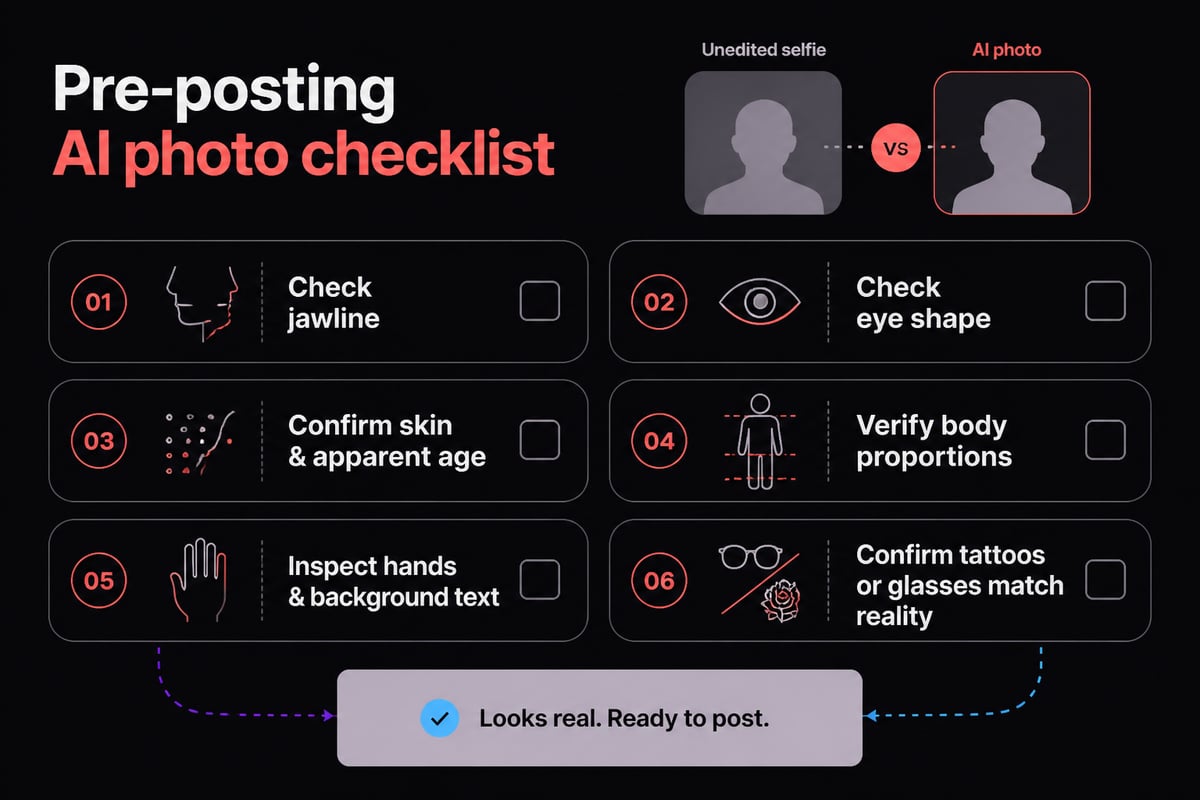
Before publishing any AI photo, run it through a short review against your real appearance. This takes five minutes and prevents most regret.
- Face match. Hold the image next to an unedited selfie. Check jawline, eye shape, nose width, hairline and any distinctive features such as scars or moles.
- Skin and age. Look for missing texture or a younger apparent age. If you look noticeably different, discard it.
- Body proportions. Confirm that build, height cues and posture are accurate. See what to do when AI photos change your body if proportions look off.
- Hands, text and background. Count fingers, check jewelry symmetry and read any signage.
- Added or removed details. Tattoos, glasses, scars and birthmarks should match reality. Reports of AI adding things that are not there are common enough to check deliberately.
A realistic benchmark is that not every output will pass. Plan to keep a minority of images and discard the rest, and read how many AI photos are actually usable so your expectations are grounded.
Using a Service Built for Real Likeness
If you want to skip the trial and error, a purpose-built service can handle reference processing and scene generation together. CMeIn's AI photos are built around keeping your face as it is, with no smoothing, slimming or beautifying, and placing you in real places with candid framing rather than studio backdrops.
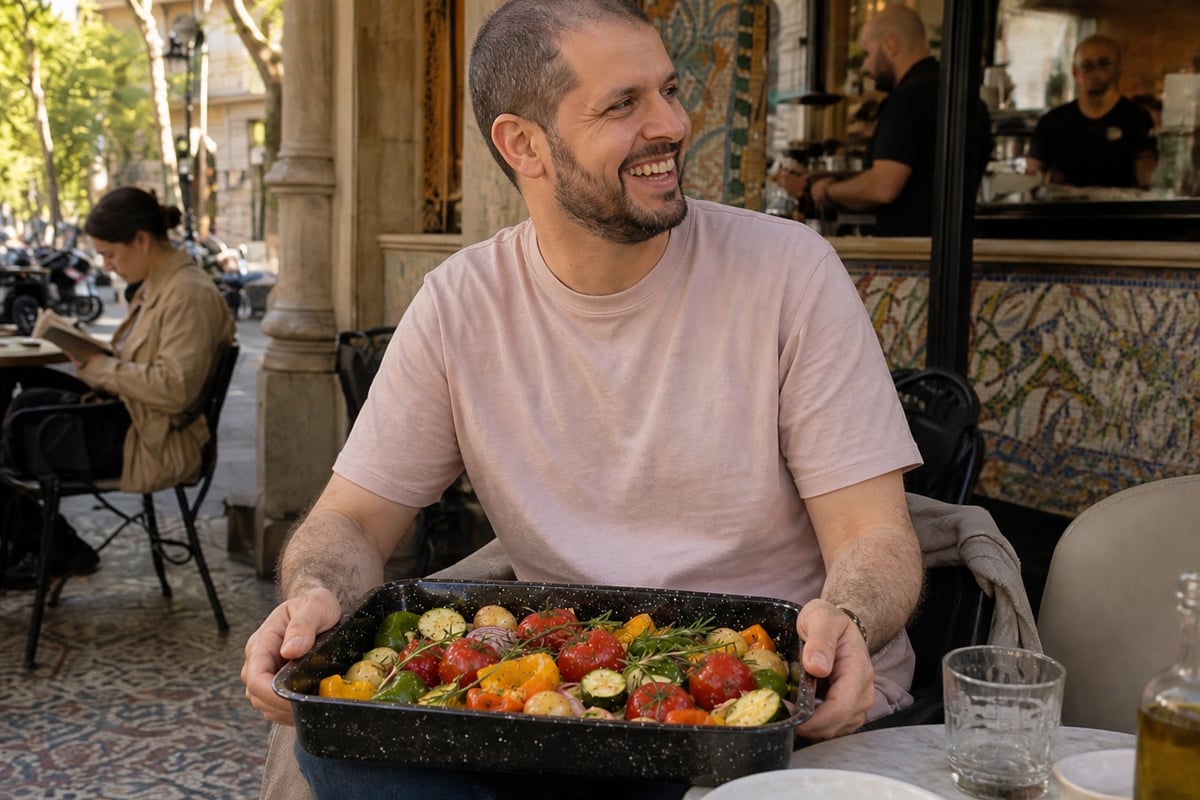
Several practical details matter for this audience. Questions about how uploads are handled are covered in what happens to photos you upload. The pricing page lays out the options, and the comparison of AI photo subscriptions versus credits explains the differences between the two models. The images can be used on dating apps, LinkedIn and Instagram.
Whichever tool you choose, apply the same test: can you see results before paying, and does the output still look like you? The checklist in seeing AI photos before you pay is a useful filter.
Consent and Honest Use
Make a AI photo only of yourself, and only in ways that represent you honestly. The major platforms already enforce this in their rules.
Google's generative AI use policy prohibits using personal data or biometrics without legally required consent, and prohibits tracking or monitoring people without consent. OpenAI's usage policy prohibits using someone's likeness, including a photorealistic image, without consent in ways that could confuse people about authenticity. Using another person's face is therefore both a policy violation and an ethical line, and a good reason to stick to your own reference photos.
Honesty also applies to your own image. A photo that depicts you accurately in a scene you could plausibly be in is a representation. A photo that makes you look materially different is a misrepresentation, and on a dating app it tends to end the first date early. Read what AI dating photos can and cannot do and consider whether AI photos pass face verification checks before you rely on them for a profile.
Some readers prefer a traditional route for certain occasions. A formal portrait from a skilled studio such as Breanne Fine Portraiture suits milestone images where a photographer's direction and print quality are the point. The comparison of AI photos versus hiring a photographer can help you decide which fits a given need.
Common Mistakes to Avoid
Most disappointing results trace back to a short list of avoidable errors.
- Uploading filtered selfies. The model learns the filtered face, not yours.
- Using too few references. Three similar photos give the model little to work from.
- Asking for perfection. Prompts like "flawless" or "stunning" invite smoothing.
- Mixing too many scenarios. One setting per image produces a more coherent result.
- Skipping the real-face comparison. The check takes minutes and catches the most damaging errors.
- Ignoring free tools' trade-offs. Free generators often monetize uploads or limit quality; the piece on why free AI photo tools aren't the product explains the pattern.
Avoiding these keeps the focus on what matters: an image that earns trust because it is accurate.
Take one step today: pull together ten unedited recent photos of your face from different angles and lighting, because that set decides how real your result looks. When you are ready to turn them into natural, candid images, try CMeIn's AI photos, which keep your face exactly as it is. Start with your photos and see how they look before you commit to anything.