How to Make a Realistic Photo with AI Generators
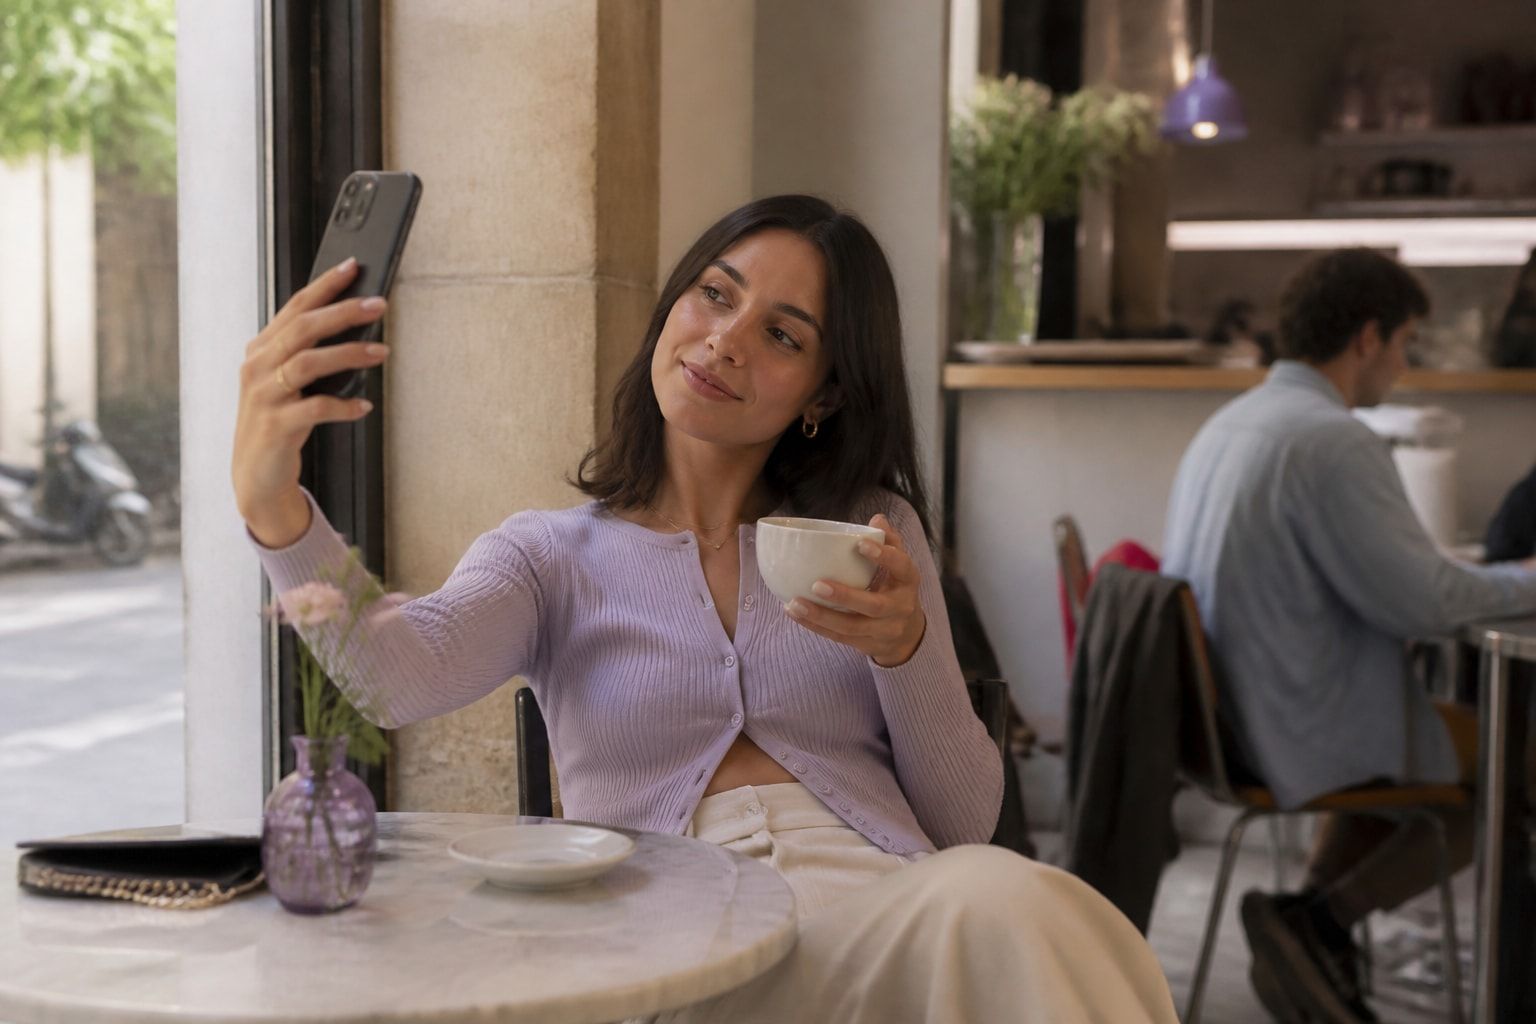
A realistic photo AI generator turns a written description or a set of reference photos into an image that reads as a real camera shot, and the quality of the result depends mostly on how specific your input is and whether the tool keeps your actual face intact. For dating profiles and professional photos, the goal is narrower than general image making: you want a picture a stranger would accept as you, and one that matches you when you show up in person. This guide covers the prompt structure, lighting choices, reference photos and verification checks that produce that outcome.
What Makes an AI Photo Look Realistic
An AI photo looks realistic when its lighting, texture, framing and anatomy behave the way a real camera and a real scene would. Viewers do not consciously audit these details, but they register when something is off.
Realism usually comes down to five signals:
- Consistent light. Shadows fall in one direction and match the visible light source.
- Skin texture. Pores, small asymmetries and uneven tone are present. Perfectly even skin is a common tell.
- Plausible optics. Background blur, depth of field and lens perspective resemble a phone or mirrorless camera.
- Correct anatomy. Hands, ears, teeth and the edges of glasses are clean and consistent.
- Believable setting. The location has clutter, wear and incidental details rather than a seamless backdrop.
People are not as good at spotting generated images as they assume. A 2025 study in Frontiers in Artificial Intelligence asked 104 participants to classify real and AI-generated images, and found that overall accuracy in identifying AI images was 63.7%, with accuracy falling for images made with FLUX.1-dev. That cuts both ways. A well-made image can pass, which is useful, but it also means a flattering, altered image can mislead someone, and that is the situation to avoid on a dating app.
How to Write a Prompt That Produces a Realistic Photo
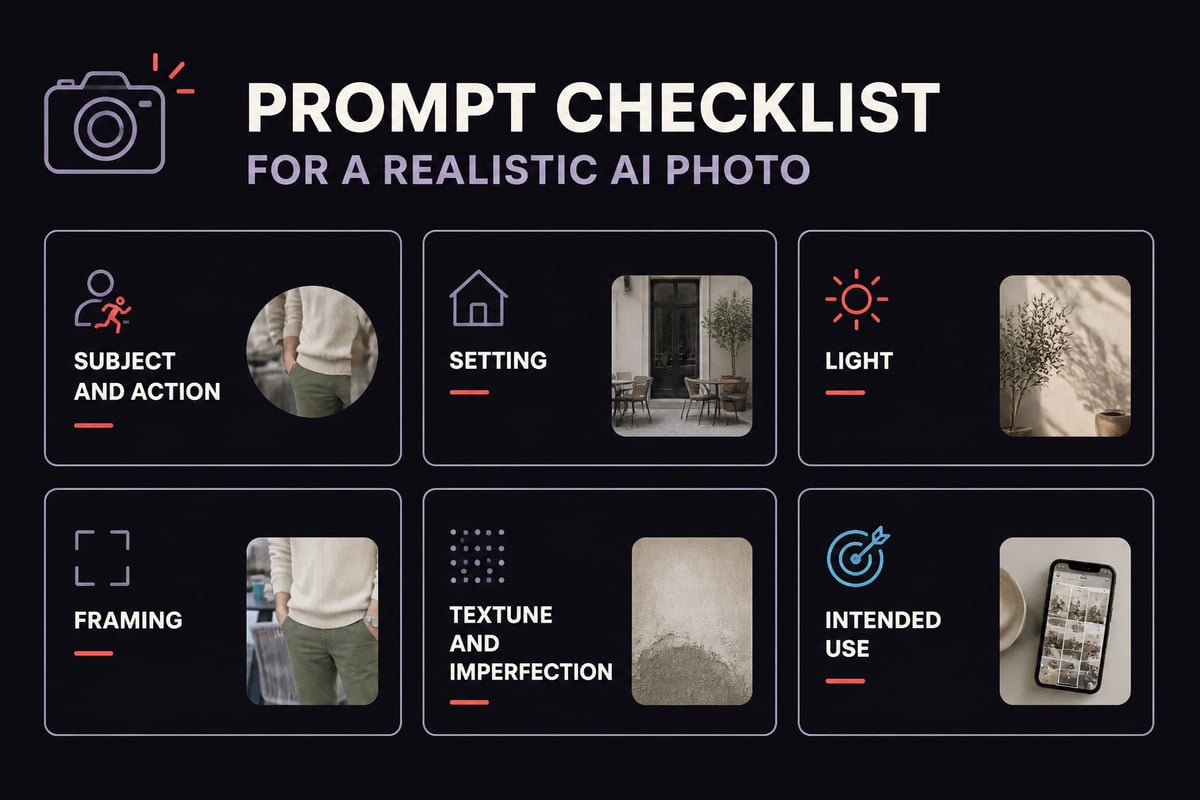
A realistic prompt names the subject, the setting, the light, the framing and the camera feel in plain language. Vague prompts such as "photo of a man in a park" leave the model to fill gaps with its defaults, and those defaults tend toward polished, stock-photo output.
OpenAI's image prompting guide recommends specifying the subject, intended use, composition, aspect ratio, materials, lighting, colors, framing and texture. It also states that camera specifications work as cues for appearance rather than guarantees of exact physical simulation. In practice, writing "35mm, shallow depth of field" nudges the look toward a candid photograph but does not replicate a lens.
Use this order when you write a prompt:
- Subject and action. "A woman in her thirties laughing while holding a coffee cup."
- Setting. "At a corner table in a small neighborhood cafe, mid-morning."
- Light. "Soft window light from the left, no flash."
- Framing. "Waist-up, slightly off-center, shot at eye level."
- Texture and imperfection. "Natural skin texture, visible stray hairs, unretouched."
- Use. "Vertical, suited to a dating profile."
Keep the prompt to what you want to see. Long lists of quality adjectives such as "ultra-detailed, 8K, masterpiece" often push output toward an illustrated or over-rendered look, which is the opposite of realistic.
Why Lighting and Setting Matter More Than Resolution
Lighting and setting decide whether a photo reads as real, and resolution does very little to change that. A sharp image with studio-perfect light and a blank backdrop looks generated even at high resolution, while a slightly soft image in an ordinary cafe often looks like a friend took it.
Specify light the way a photographer would:
- Window light produces gentle shadows and works well for portraits.
- Golden hour gives warm, directional light suited to outdoor and travel shots.
- Overcast daylight is flattering and even, with believable muted shadows.
- Mixed indoor light such as a lamp plus a window adds the slight color imbalance real rooms have.
For setting, choose places with texture: a bookshop shelf, a trailhead, a farmers market, a rooftop with visible neighboring buildings. Incidental objects such as a half-finished drink, a bag strap or a bike in the background signal a captured moment. Seamless gradients and symmetrical backgrounds signal the opposite.
Framing matters too. Candid shots are rarely centered. A slight crop, a tilted horizon or a subject looking just past the camera all read as human-made. If you are building a set of dating images, the guide to dating profile lifestyle photos shows which scenes communicate personality without feeling staged.
Using Reference Photos to Keep Your Own Face
Reference photos let a generator reproduce your real face instead of inventing a plausible one, which is the difference between a pretty image and a photo of you. For dating or professional use, this is the most important setting you control.
Text-only generators can create a convincing person, but not you. Reference-based tools take several of your own photos and place that likeness into new scenes. The quality of the output tracks the quality of what you upload:
- Use three to ten clear photos with different angles and expressions.
- Include natural light and avoid heavy filters, since the model will learn the filter.
- Show your face unobstructed, without sunglasses or a hat in most shots.
- Use recent images so hair, weight and facial hair reflect how you look now.
The most common failure is drift: the tool quietly smooths skin, narrows a jaw, lightens a tone or removes a feature. If you plan to meet someone in person, drift becomes a credibility problem. The articles on AI photos that changed skin tone and AI photos that are ageing you describe what to look for. For a deeper walkthrough of this approach, see realistic AI photos of yourself.

A Realistic Photo AI Generator for Dating Profiles and Work Photos
For a dating profile or a professional photo, the right realistic photo AI generator is one that preserves your face, places you in believable settings and does not retouch you. Those two audiences share the same requirement: the image has to match the person who arrives.
CMeIn is built around that requirement. It uses your reference photos to generate images in scenes such as dating profiles, social media and travel, keeps your face as it is with no smoothing, slimming or beautifying, and favors real places and candid framing over studio backdrops. Uploads are private by default and never used to train models, and it works with dating apps, LinkedIn and Instagram. Pricing is credit based rather than subscription based, so you pay for what you generate; details are on the pricing page.
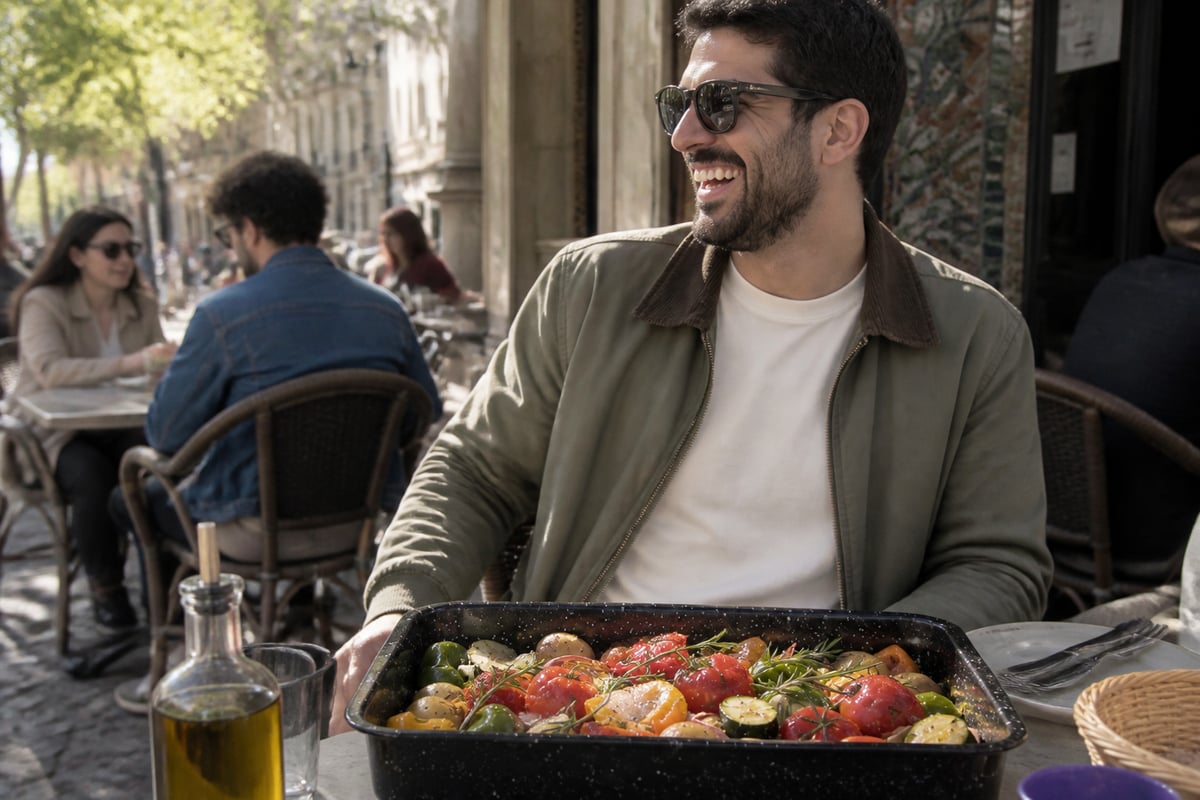
This approach is not for everyone. If you want a smoother, slimmer or younger-looking version of yourself, or you want to use someone else's face, it is the wrong tool. The point is a faithful photo, and the faithful version tends to hold up on a first date.
Professionals have a slightly different checklist. A work portrait should show a clean, neutral expression, simple clothing and a believable background such as an office, a window or an outdoor walkway. The guidance on choosing professional AI headshots that feel like you and on LinkedIn photos that still look like you covers expression, attire and crop.
Free vs Paid Options and What to Check Before You Pay
Free generators are useful for experimenting with prompts, but they carry tradeoffs in likeness control, privacy and output limits that matter when the photo represents you. Paid tools generally offer reference-based likeness, higher consistency and clearer data handling.
| Factor | Free text-to-image tools | Reference-based paid tools |
|---|---|---|
| Face accuracy | Invents a plausible face | Reproduces your uploaded face |
| Consistency across images | Low | Higher |
| Privacy terms | Often unclear | Check before uploading |
| Pricing model | Free or ad supported | Subscription or credit pack |
| Best use | Prompt practice, concepts | Profiles and work photos |
Before you commit, run through these checks:
- What happens to your uploads? Look for a statement that photos are not used for model training, and read what happens to photos you upload.
- How does pricing work? Compare subscriptions and credits and watch for pricing traps.
- Is there a way to reach support? A tool with no contact path is hard to fix when output is wrong.
A free tool that asks for many photos of your face deserves scrutiny. The explanation in free AI photo tools aren't the product outlines why the business model matters.
Common Flaws That Break Realism
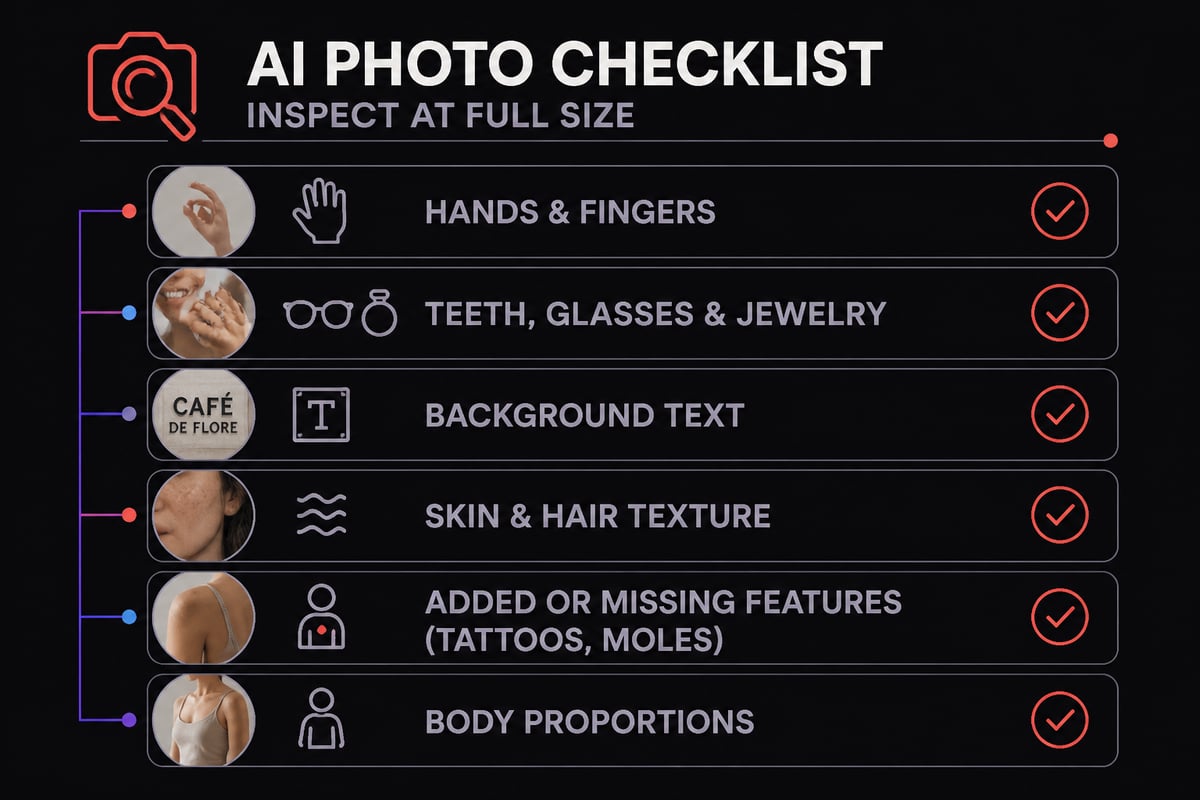
Most failed AI photos share a short list of visible flaws, and you can catch nearly all of them by zooming in before you post. Check each image at full size, not at thumbnail scale.
- Hands and fingers. Look for extra digits, merged fingers or odd joints.
- Teeth and smile. Teeth that are too uniform or too numerous look off.
- Glasses and jewelry. Frames that merge into the skin, or earrings that do not match, are common errors.
- Text and signs. Background lettering often turns into gibberish.
- Skin and hair. Waxy skin or hair that blends into the background indicates over-smoothing.
- Added or missing features. Tattoos, scars, moles and facial asymmetry may be altered; the notes on things AI photos added that aren't there and AI photos with tattoos show what to expect.
- Body changes. Shoulders, waist or height may shift; see AI photos that changed my body.
Expect to discard some images. Output quality varies from one generation to the next, so plan to generate more than you need and select the best few. The article on how many AI photos are usable sets realistic expectations for that ratio.
The Final Test: Would a Stranger Recognize You
The best final test for a realistic photo is whether someone who has only seen it would recognize you at the door of a cafe. A photo can pass a casual glance and still fail this test, so apply it deliberately.
Compare each candidate image to an unedited recent photo of yourself, ideally one taken in daylight without a filter. Check face shape, jawline, skin tone, hairline, facial hair and apparent age. Then ask a friend who knows you to pick the one that looks most like you, without telling them which are generated.
Public perception adds a second reason to be careful. A September 2025 Conjointly survey of 301 US adults found that only 9% correctly identified at least 70% of the images they were shown, which included six real and six AI-generated ones. Respondents identified AI images correctly 52% of the time, yet 42% said they felt confident or extremely confident distinguishing AI images from real ones. Many viewers believe they can spot a generated image, which means a mismatch between your photo and your face is more likely to feel like a deception once noticed, even if the image looked real at first.
If you are weighing general-purpose assistants against dedicated tools, the comparison of ChatGPT, Gemini and Grok for dating photos covers where each tends to drift.
A Simple Workflow You Can Repeat
A repeatable workflow keeps your results consistent and saves credits. Follow these steps in order.
- Collect references. Gather several recent, unfiltered photos in natural light.
- Choose the use. Decide whether the photo is for a dating app, LinkedIn or social media, since scene and expression differ.
- Write the prompt. Use the subject, setting, light, framing and texture structure above.
- Generate a batch. Create more images than you need.
- Inspect at full size. Reject anything with flaws or likeness drift.
- Run the recognition test. Compare to an unedited photo and ask a friend.
- Select and publish. Pick three to five images with varied settings and expressions.
Variety across the final set matters. A mix of a close portrait, a half-body shot in a real location and an activity photo gives a more honest impression than five near-identical images. For help with pose and expression in the source photos you upload, see how to pose for photos and how to look confident in photos.
Your next step is to pick three recent, unfiltered photos of yourself and compare them to what you want your profile to show, so you know what your real baseline looks like. From there, CMeIn can help you turn those references into candid scenes that keep your face as it is, with credit packs you pay for only as you use them. You can review the available scenes through CMeIn Ai photos that looks like you, and the best place to start with your photos is the dating photo page, where you can see how your own likeness carries into real settings.